Skip to main content
(919) 805-3441
Home
About Us
Meet Dr. Stoeckel
Meet Dr. Barry
BMI Requirements
Patient Resources
Meet the Medspa Staff
MedSpa at Wake Plastic Surgery
Meet the Staff
Bolivia – Children’s Missions
Blog
Procedures
Breast
Breast Augmentation
Breast Reduction
Breast Lift
Breast Revision
Gynecomastia
Nipple Reduction
Body
Tummy Tuck
QuiltTite Drainless Tummy Tuck™
Mommy Makeover
Liposuction
Arm Lift Surgery
Thigh Lift
Brazilian Buttock Lift
Gluteal Crease Remodeling
Face
Face and Neck Lift
The Barry Natural Facelift™
Facial Fat Grafting
Upper Lip Lift
Chin Implant and Liposuction
Brow Lift
Blepharoplasty
Ear Surgery
Mole & Lipoma Removal
MedSpa
Injectables
Botox®
Dysport
Dermal Fillers
Sculptra
Skinvive
PDO Threads
Laser Treatments
Helix C02 Laser
Halo Treatment
BBL Laser
Laser Hair Removal
ProFractional Laser
Facials and Chemical Peels
DiamondGlow
Facials
Chemical Peels
Microneedling and Resurfacing
Virtue RF
SkinPen Microneedling
PRP & PRF Plasma Treatment
Dermaplaning
miraDry® for Excessive Sweating
Skincare Products
Photo Gallery
MedSpa Gallery
Video Gallery
Monthly Specials
Contact Us
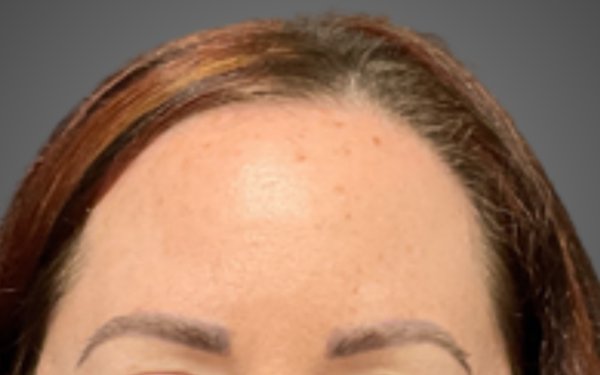
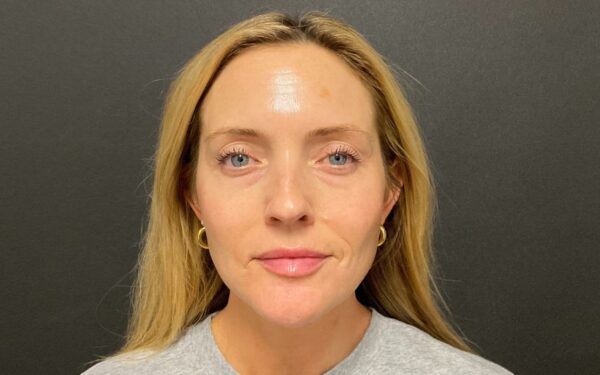
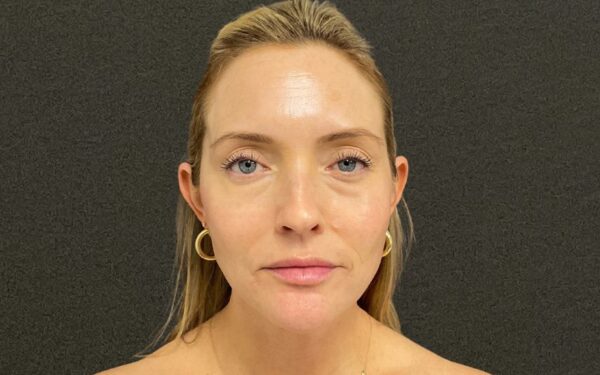
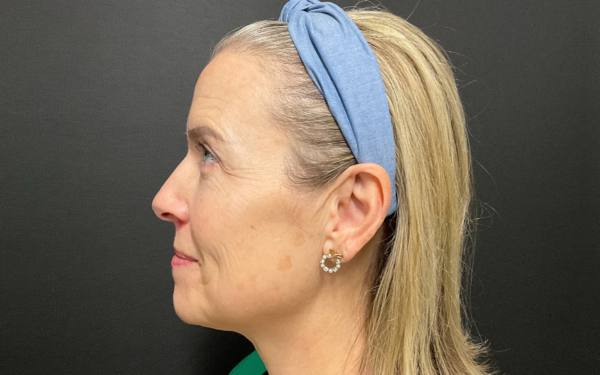
BBL Gallery
Back To Galleries
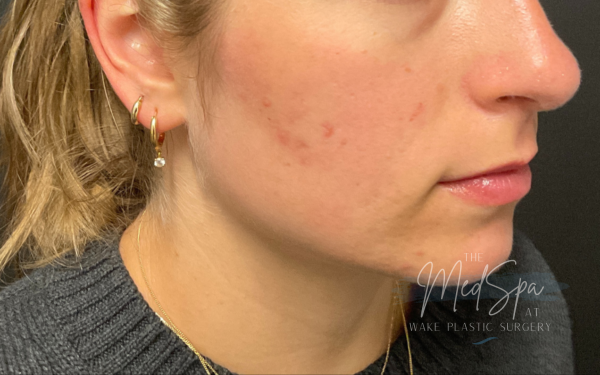
Patient 1
Procedure:
BBL
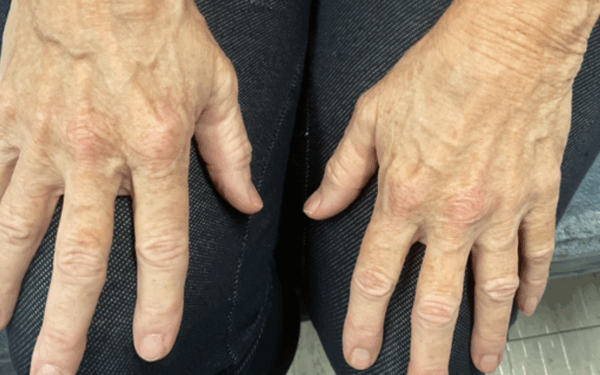
Patient 2
Procedure:
BBL
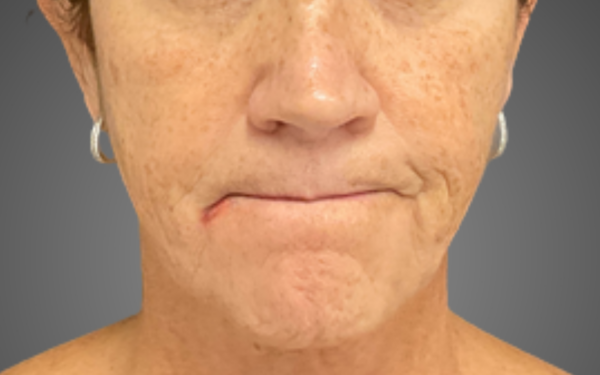
Patient 3
Procedure:
BBL
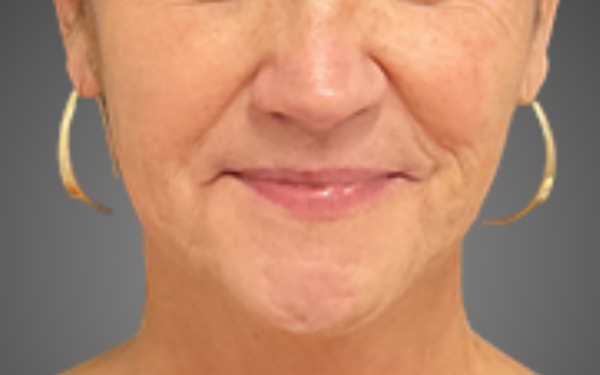
Patient 4
Procedure:
BBL
Patient 5
Procedure:
BBL
Patient 6
Procedure:
BBL
Learn More
×